Posts

Showing posts from May, 2013

Working with the SlidingPaneLayout

Image
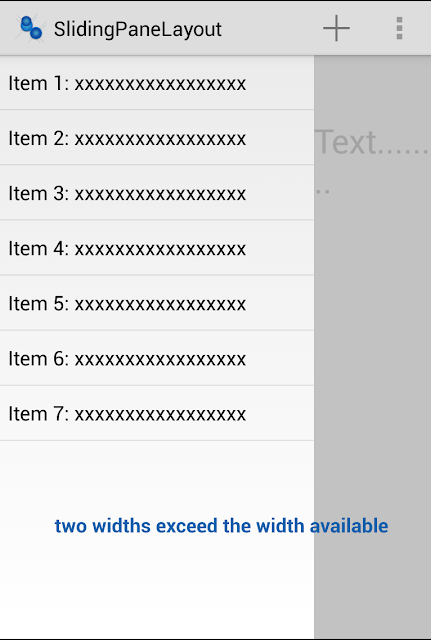
In the latest I/O 2013, Google showed a new app, Google Hangouts. This app is designed around the SlidingPaneLayout , which is a new addition to the support library. It provides and easy way to create two pane screens. You define the two panes and how much room they need to display. If the device has insufficient space to show both at once, the content pane will overlap the master pane and you can slide horizontally to reveal it; then swipe back to content. Implementing the SlidingPaneLayout is simple. The components required are now included in the latest support library (release 13). We can start with the layout file,and we'll add its tag to our layout XML file for an Activity. Like the DrawLayout the SlidingPaneLayout contains two children, the first child is the Master or left pane and the second child is the content or detail pane. For each pane you define the width that the pane requires. If the sum of these two widths exceed the width

Creating a Navigation Drawer

Image
In the latest I/O 2013, Google added a new pattern: Drawer Navigation . I think Google did really good job. You can find official design guidelines here . Implementing drawer navigation is simple. The components required are now included in the latest support library (release 13). The first thing that we need to do is modify our layout and insert a DrawerLayout. It is important to note: The main content view (the RelativeLayout above) must be the first child The width of the navigation drawer should be between a minimum of 240 dp and a maximum of 320 dp The height of the navigation drawer should be match_parent The drawer view (the ListView) must specify its horizontal gravity with the android:layout_gravity It is enough to get a empty Navigation Drawer working. If we swipe from the left hand edge of the screen our Navigation Drawer appears. Now we can populate our List with a simple Adapter. @Override protected v