How to add ActionBarCompat to your project.
In my previous
post I've talked about a comparison between ActionBarSherlock and ActionBarCompat.
In this post we'll try to add ActionBarCompat to our project.
It is pretty simple to use and implement ActionBarCompat, but we have to pay attention when we add it to our project.
In Android Studio it is very very simple. Open build.gradle and add this:
In ADT (Eclipse) you can add it as a library project based on code that you can find in sdk\extras\android\support\v7\appcompat.
It is described here. Pay attention.
In your project you have to add this library project.
Now it is very simple to review our code.
In Activity we have to extend ActionBarActivity.
If you see source code it extends a FragmentActivity.
We have to use (or extend) one of the Theme.AppCompat themes for our activity. For example we can use:
If you want to customize styles, you can use Action Bar Style Generator by Jeff Gilfelt .
You can find it here. It supports ActionBarCompat ! (Great, thanks Jeff!!).
Create your custom theme, download file, extract in res folder end finally:
In this post we'll try to add ActionBarCompat to our project.
It is pretty simple to use and implement ActionBarCompat, but we have to pay attention when we add it to our project.
In Android Studio it is very very simple. Open build.gradle and add this:
dependencies {
    compile 'com.android.support:appcompat-v7:18.0.+'
}
In ADT (Eclipse) you can add it as a library project based on code that you can find in sdk\extras\android\support\v7\appcompat.
It is described here. Pay attention.
In your project you have to add this library project.
Now it is very simple to review our code.
In Activity we have to extend ActionBarActivity.
If you see source code it extends a FragmentActivity.
import android.support.v4.view.MenuItemCompat;
import android.support.v7.app.ActionBarActivity;
import android.support.v7.widget.SearchView;
import android.support.v7.app.ActionBar;
import android.view.Menu;
import android.view.MenuItem;
public class MainActivity extends ActionBarActivity {
ActionBar ab;
@Override
protected void onCreate(Bundle savedInstanceState) {
super.onCreate(savedInstanceState);
setContentView(R.layout.activity_main);
ab = getSupportActionBar();
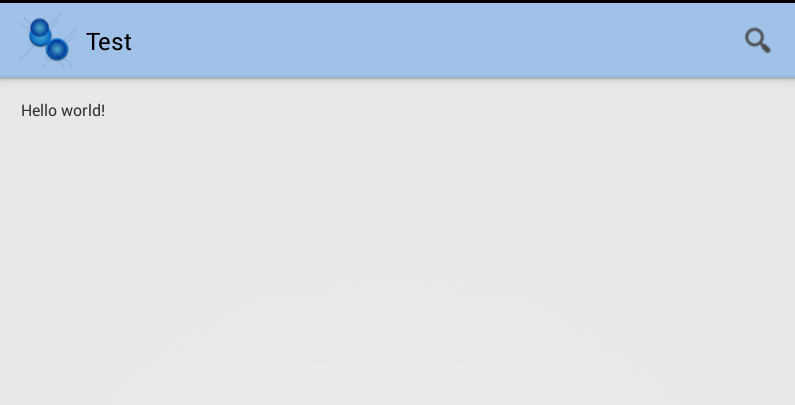
ab.setTitle("Test");
}
@Override
public boolean onCreateOptionsMenu(Menu menu) {
getMenuInflater().inflate(R.menu.main, menu);
MenuItem searchItem = menu.findItem(R.id.action_search);
SearchView searchView = (SearchView) MenuItemCompat.getActionView(searchItem);
return super.onCreateOptionsMenu(menu);
}
}
If you need to access Action Bar programatically, you can call getSupportActionBar().We have to use (or extend) one of the Theme.AppCompat themes for our activity. For example we can use:
If you want to add some items to menu, it is very simple. You have to attention to namespace as described in official guide.<activity android:theme="@style/Theme.AppCompat.Light" ... >
<menu xmlns:android="http://schemas.android.com/apk/res/android"
      xmlns:yourapp="http://schemas.android.com/apk/res-auto" >

    <item android:id="@+id/action_search"
          android:title="search"
          android:icon="@drawable/ic_search"
          yourapp:showAsAction="ifRoom|collapseActionView"
          yourapp:actionViewClass="android.support.v7.widget.SearchView" />
</menu>
If you want to customize styles, you can use Action Bar Style Generator by Jeff Gilfelt .
You can find it here. It supports ActionBarCompat ! (Great, thanks Jeff!!).
Create your custom theme, download file, extract in res folder end finally:
<activity android:theme="Theme.MyCompatStyle" ... >

Comments
Post a Comment